Recipe Round-Up and a Giveaway
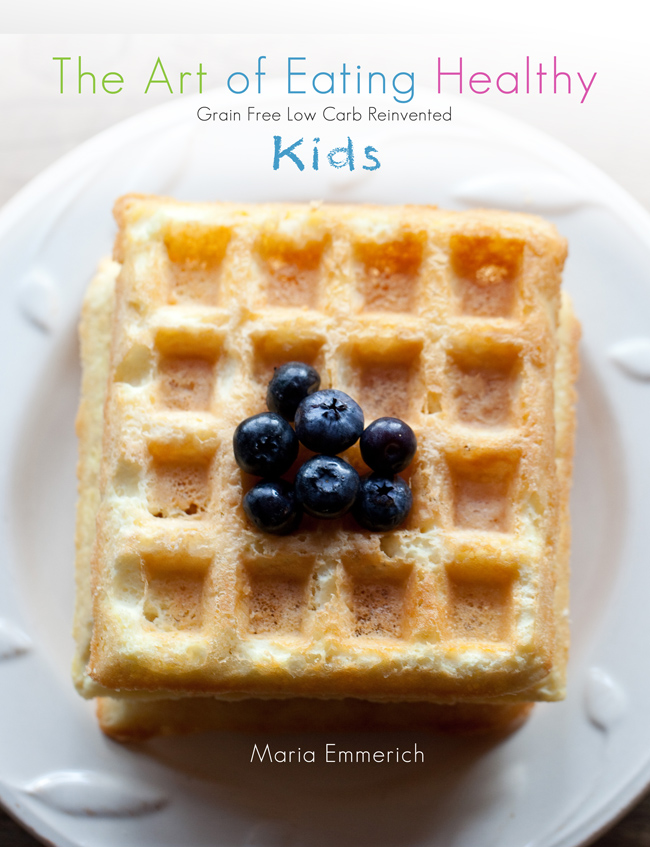
Two weeks from today our boys head back to school which means it's time to start thinking about what to include in their lunch boxes. For the past few days I've been experimenting with new healthy recipes found via Pinterest, on-line searches, and from my new favorite book,"The Art of Eating Healthy: Kids" by Maria Emmerich. (See the bottom of the post for details on how you can win a copy of the book!) I always like to try the recipes before I send them to school with my kids to ensure what I'm making is something they will actually eat. We've tried some real doozies over the years, but it's getting a little easier for me to predict which recipes will go over well with the kids. I thought I'd share a few recipes today that were kid-approved in our unofficial home taste test.
First up is a recipe for flourless, sugar free peanut butter-chocolate chip cookies (adapted from this recipe):
- 1 egg
- 1 cup granulated sugar (I used erythritol which is a natural plant based sweetener and 1 tsp stevia glycerite)
- 1 cup peanut butter (you could use Sunbutter if peanut allergies are a concern)
- 1 teaspoon vanilla extract
- teaspoon baking soda
- 4 tsp water
- 1 c. chocolate chips
- Heat oven to 350 degrees. Place parchment paper on a baking sheet and set sheet aside.
- Using electric mixer, blend egg, sweetener, vanilla & baking soda together for 1 minute. Add peanut butter and continue mixing. Dough may be dry depending on the type of peanut butter you are using...add up to 4 tsp of water. Stir in
- Use a cookie scoop or spoon to portion tablespoon-sized balls of dough, and place them on parchment-lined baking sheet. You could roll these into balls if you like, but it is not necessary if you want to skip that step. Press top of each cookie with fork tines twice crosswise to form a classic crosshatch pattern.
- Sprinkle tops of unbaked cookies with coarse sugar crystals or additional granulated sugar if desired. (Yes, you should desire this.)
- Bake for 11 minutes. Allow cookies to cool on baking pan at least 5 minutes (they are fragile until cooled). Remove to a rack and cool completely.
- Store in an airtight container.

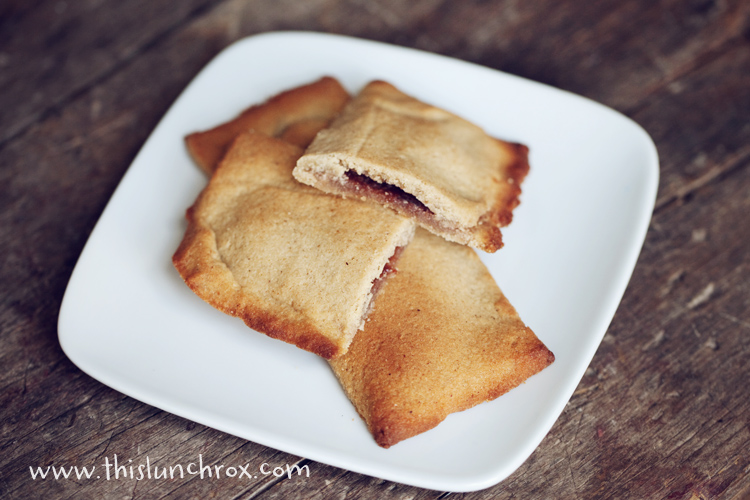
And next is a healthy version of a fruit filled cereal bar from Maria's blog:
3/4 cup blanched almond flour
1/2 cup coconut flour
2 TBS psyllium husk powder
1/2 tsp cinnamon
1/4 cup butter or coconut oil, softened
1/2 cup Swerve (or erythritol and 1 tsp stevia glycerite)
2 eggs
1 tsp vanilla (or your favorite natural extract...I used strawberry)
1/2 tsp Celtic sea salt
1 cups Nature's Hollow no-sugar Jelly (any flavor) OR fresh berries
In a large bowl, mix almond flour, coconut flour, psyllium and cinnamon until well combined. In another bowl, cream together the butter or oil, Swerve, eggs, vanilla and salt. Add the dry ingredients into the wet until well combined. Chill in the fridge for at least 20 minutes for easier preparation.
Preheat your oven to 325 degrees F. Grease two pieces of parchment with coconut oil spray. Place 1/2 the dough onto 1 piece of greased parchement and top the dough with the other piece of parchment. Roll out until a rectangle that is about 1/4 inch thick. Cut into small rectangles about the size of a NutriGrain bar. Place 1 TBS or a few berries onto the middle of half of therectangles. Gently place cover the jelly topped retangles with a piece of dough without the jelly. Seal the edges with a fork or your finger. Place the parchement onto a cookie sheet and bake for 14-17 minutes or until golden brown. Makes 12 servings.

Throughout the school year I'll be sharing some of my favorite recipes from the book I mentioned above, "The Art of Eating Healthy: Kids"including strawberry cupcakes, whoopee pies, fruit roll ups, and many, many more! Maria Emmerich, author of the book, was kind enough to offer a copy of the book to one lucky reader! Simply leave a comment on this blog post by Friday, August 24th for your chance to win! I will announce the winner here and on the This Lunch Rox Facebook pageon Saturday, August 25th so stay tuned.


%COMMENTS%