Behind the blog
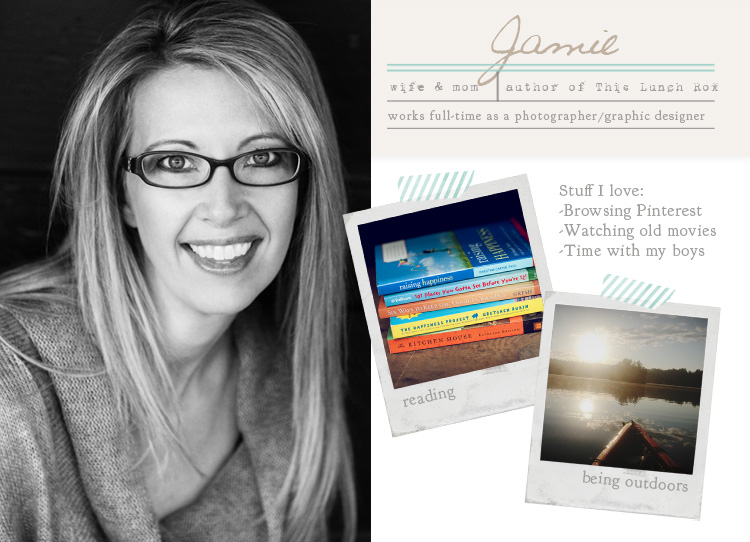
Well...summer is officially here which means that I now have two full school years under my belt with this little lunch box project. What started out as a way to entice my boys to choose cold lunch over hot lunch has turned into a bit of a hobby for me and I must say that I've really enjoyed blogging about my experiences. The other day I was looking through past blog entries and realized that over the course of two years I've shared a lot about my kids and not a lot about me. Since it's summer and I'm not packing lunches on a daily basis I thought it might be fun to share a little bit about me...the person behind the blog. So, here we go!

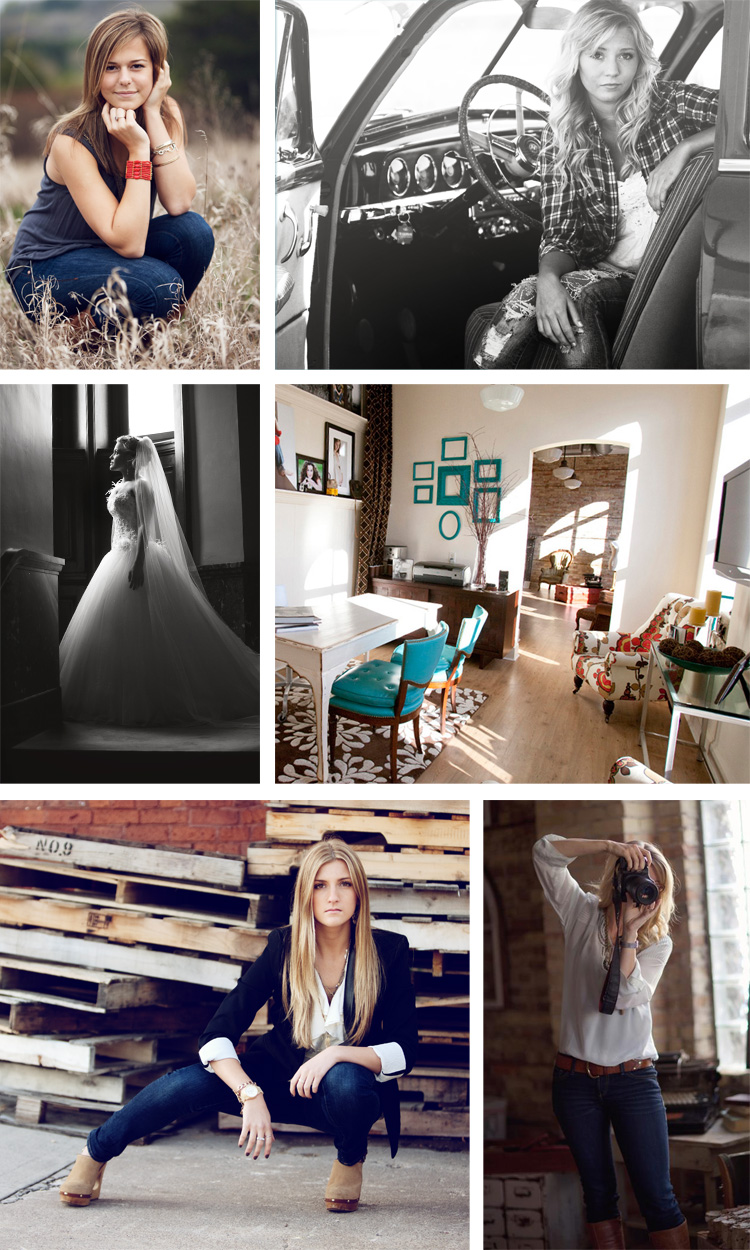
As you can see...my name is Jamie and I'm a wife & mom of 2 boys (and a dog). I'm a collector of books, but find there are not nearly enough hours in a day to read through the books that continue to pile up on my nightstand. I love being outdoors especially when we're up north and unplugged from cell phones/internet/etc... it's a great way for me to get away from the pressures of work and spend uninterrupted time with my family. Speaking of work...based on some of the comments I've received over the past two years there is a camp of people out there who think I must be bored out of my mind and have far too much time on my hand to create themed lunches for my kids. Let me assure you that having "too much time" has never been an issue for me. I work full-time out of my home managing both Jamie Schultz Photography and Jamie Schultz Designs, my photography studio and graphic design business. Here's a little peek at what I do for my day job:

When I'm not taking photographs, I'm busy designing templates that professional photographers use to create grad announcements, holiday cards, birth announcements, books, etc... for their own portrait clients. (One of the many advantages of working with a custom photographer! )

I guess what I'm trying to say is that while it's nice to dream about what it might be like to have "too much time on my hands" really nothing could be further from the truth. What I can tell you is that 3 years ago, prior to making the changes in my families eating habits, the idea of waking up early in the morning to make healthy lunches would never have entered my mind. However, now that I know just how harmful and damaging some foods can be to our bodies...finding creative ways to introduce my kids to healthier options has become a hobby for me. As a working mother of two young boys I find I have very little time to do the things I love. Some moms find creative outlets in projects like scrapbooking, quilting, card-making, beading or other activities. Making and preparing creative lunches for my boys happens to be my passion and its an activity that makes me truly happy. So I guess you can add "lunch making" to my list of things I love! I don't necessarily have the time to do it, but I MAKE time for it as often as I can. I wish I could find more time to carve out to do other things I love such as; reading, traveling, spending time with friends & watching movies...but there really aren't enough hours in a day to do it all. For now I just do what I can with what I have and make the most of it.
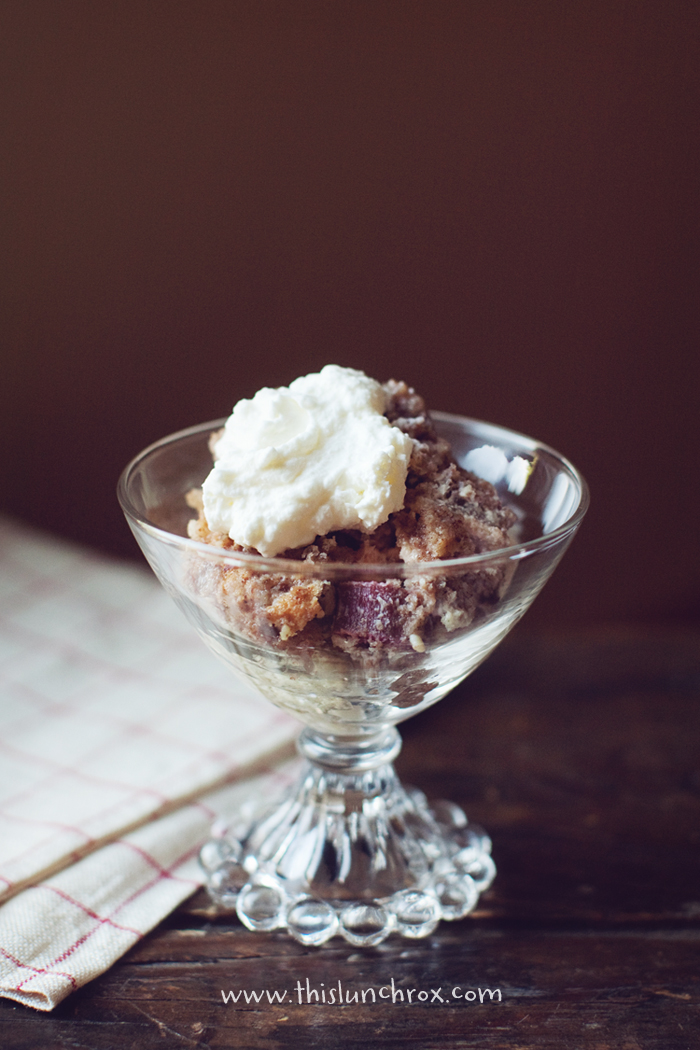
Since today's blog post was all about me and the "stuff I love" I thought it would be fitting to share my all-time favorite summer dessert...Rhubarb Crisp. Mmmm!

"Healthified" Rhubarb Crisp (posted with permission from Maria Emmerich)
3/4 cuperythritol(orxylitol)
2 tspstevia glycerite(omit if using xylitol)
1 (8 oz) package cream cheese
2 eggs
1/2 tsp vanilla extract
1/4 tspCeltic sea salt
3 cups chopped fresh rhubarb
Topping:
1/3 cuperythritol(orxylitol)
1 tspstevia glycerite(omit if using xylitol)
1/3 cup crushed almonds/pecans/walnuts
1/4 cupalmond flour
1/4 cupvanilla whey protein(oregg white protein)
1 tsp ground cinnamon
1/4 cup butter orcoconut oil, softened
Preheat oven to 325 degrees F.Beat sweetener, cream cheese, and eggs in a large mixing bowl until smooth. Stir in vanilla and salt. Fold in rhubarb. Pour rhubarb mixture into casserole dish. Bake for 15 minutes. Meanwhile, combine 1/3 cup erythritol and stevia glycerite, 1/3 cup crushed nuts, almond flour, whey and cinnamon in a small bowl. Cut in butter with fork or pastry blender until mixture resembles coarse crumbs. Sprinkle topping mixture evenly over pie. Return to oven and bake until filling is set and crust and topping are golden brown, about 15 minutes. Makes 12 servings.

%COMMENTS%